If you’re working on an electrical project, knowing how to use crimp tools properly is essential for creating safe, reliable, and professional-quality wire connections. In this step-by-step guide, we’ll walk you through everything you need to know—from selecting the right crimping tool and terminal to executing a solid crimp that lasts. Whether you’re a DIY enthusiast or a professional electrician, mastering these techniques will help you avoid common wiring mistakes and ensure your electrical connections are up to standard.
Steps for proper crimp tool use
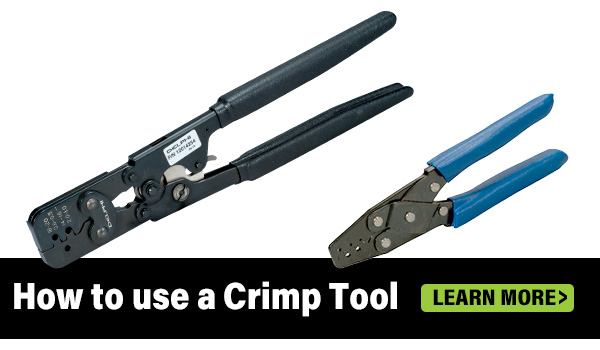
- Select the Appropriate Tool and Connector
- Wire Preparation:
- Measure and cut the wire to the required length.
- Strip the insulation from the wire end to expose the appropriate length of conductor, ensuring not to damage the strands.
- Positioning the Terminal:
- Place the terminal into the crimping tool’s die, ensuring correct orientation.
- Make sure the terminal is seated properly before inserting the wire.
- Inserting the Wire:
- Insert the stripped wire end into the terminal barrel, ensuring all strands are inside and the insulation aligns correctly.
- Crimping Process:
- Activate the crimping tool to compress the terminal onto the wire.
- For ratcheting tools, ensure the tool completes its full cycle to achieve a consistent crimp.
- Inspection and Testing:
- Visually inspect the crimped terminal for proper compression and alignment.
- Perform a pull test to confirm the wire is securely held by the terminal.
- Common Mistakes to Avoid:
- Using the wrong crimp tool or die for the terminal type.
- Stripping too much or too little insulation from the wire.
- Not fully seating the wire into the terminal before crimping.
- Failing to complete the full crimping cycle with ratcheting tools.
Crimping wires correctly is a crucial skill for anyone involved in electrical work. By following these essential steps—preparing your wire, choosing the right terminal, and using the proper crimping technique—you can create strong, secure, and durable connections. Always remember to inspect your work and test the crimp for reliability. For more expert tips and how-to guides on electrical tools and techniques, be sure to explore our site or subscribe to our channel. With the right tools and knowledge, professional-grade results are within your reach.
Getting a quality crimp time after time can be tricky for some of us! Del City has many different types of crimping tools. You can compare the different crimp tools in this chart. If you need a visual aid on how to use a crimp too please check out this video!